(rev+0).jpg)
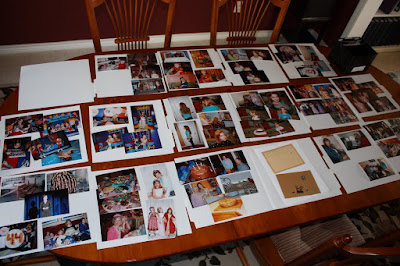
(If you stored yours in the Power Sort Box, you'll want to get them out for Step Two)
You did a great job and now you are ready for Step Two: Cropping and Embellishing!
Look at your photos....Are there photos that you can crop (too much sky? hips too big? strange relatives?)
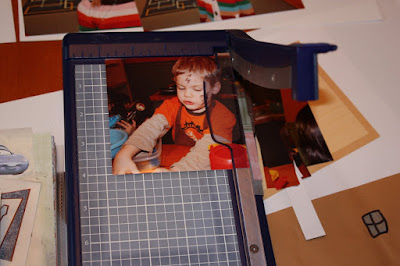
Using a trimmer you can easily crop your photos all at the same time. Just pick up the photo that needs cropping, trim it and put it back on the guide:
(rev+0).jpg)
Yes, you can cut your photos into cute shapes but (warning) that will slow you down. If you're wanting to finish this album in just a few evenings, you'll want to stick to the straight trimmer.
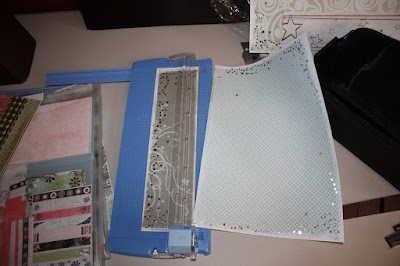
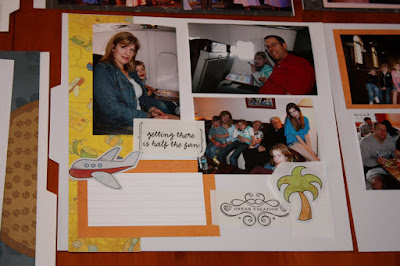
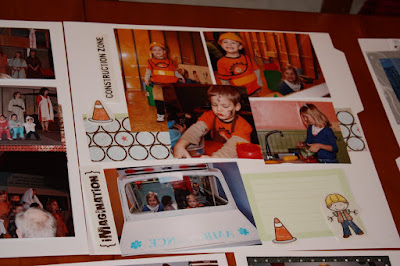
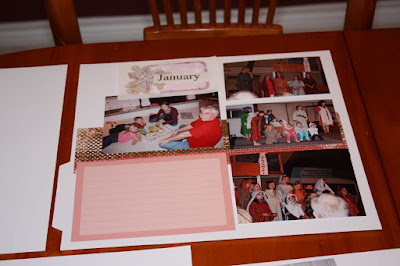
After you have finished cropping your photos, it's time to add paper, journaling boxes or stickers to enhance your photos (don't mount them yet, just trim and add them to your layout). Some scrappers put an entire sheet of 12-inch paper behind the photos, called "wall-papering", but if you want to conserve on your 12-inch paper, you can trim the paper into 3x12-inch borders instead:
(rev+0).jpg)
I use both techniques.
(rev+0).jpg)
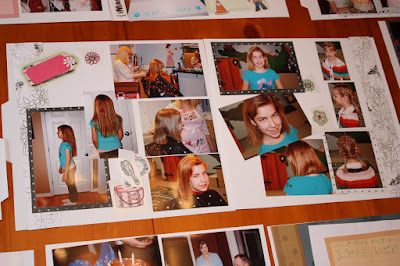
Keep doing this until all of your layouts are embellished:
(rev+0).jpg)
(rev+0).jpg)
(rev+0).jpg)
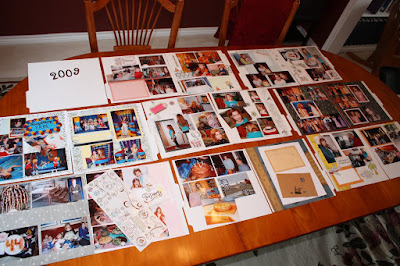
Soon your whole table of guides will be ready for Step Three (mounting into album):
(rev+0).jpg)
The advantage to doing Power Layouts is that you are in essence creating an Assembly Line. You quickly get a birds-eye view of your album...which events will warrant a one-page or half-page spread and which warrant a two-page spread or more.
Another advantage is that you can crop all of your pictures at once, speeding up time. You have your decorative supplies on hand so you can easily access paper and stickers, and other decorative items to get as creative as you want.
If you aren't ready for Step Three, then go ahead and stack these guides up just like we did in Step One (starting with the last page on the bottom of the stack!). Secure your Power Sort Box and schedule time for your next Power Layouts session....Step Three: Mounting into Album! Feel free to post your comments, I would love to hear how Power Layouts is working for you!
Happy Scrappin',
:DL
No comments:
Post a Comment