Saturday, November 28, 2009

How to organize School Photos

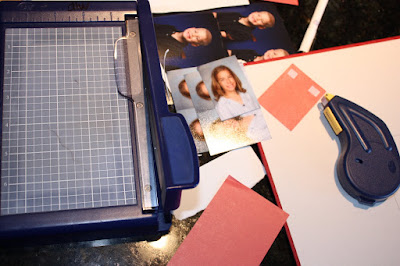
It's the end of November all of our kids school photos have come in. Now it's time for me to trim them into four piles (I have 3 girls and a prince):


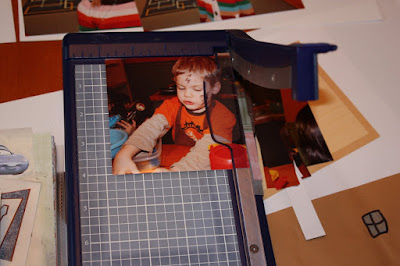
A personal trimmer works great for this. It's a sturdy little trimmer and trims wallet photos up nicely.


I keep a framed 8x10 photo of each of the kids in our hallway.
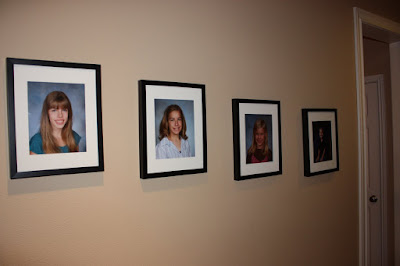


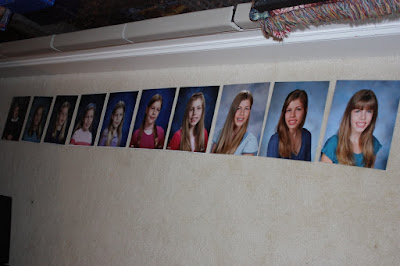
I keep all of their 8x10's in the frame and just put the new one on top of the old ones each year. Before I hang the frame though, I take all the pictures out and line them up on the floor or the dining room table for our family to look at. It's a very fun activity! It's amazing to see the changes from preschool on up!


5x7 pictures: I send to one grandma who requests them (and actually displays them in her home, God Bless her!) and file one 5x7 for each of their School Albums. I also file any Class Pictures for their School album as well.

Wallet photos: I keep one wallet photo of each child to update my mini brag book that I carry around in my purse and I give one set to My Hero to update his wallet. When I was a kid, I exchanged wallet photos with friends but that doesn't seem to be the trend around here. I do offer the kids wallet photos of their siblings to update their wallets (pick a good day to ask this).

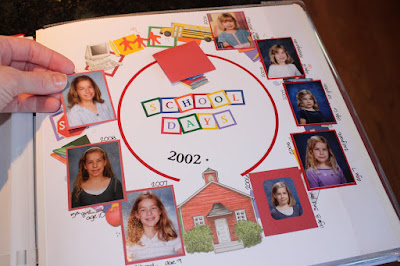
I use another set of wallet photos to update the Title Pages of our kid's School Albums. I label the picture with their age and grade.


All of the extra wallet photos I tuck inside our Christmas cards going to family.

Pictures and album making can seem overwhelming but when you break it into bite-size steps (15 minutes, 30 minutes) you will be amazed at the things you can accomplish. All of the things that I did this past week were done in several quick steps:

1. trim photos
2. update 8x10 frames (and since I'm a busy mom of 4 kids, I did this in 4 steps on 3 different days!)
3. update mini brag book
4. ask hubby and family about updating their wallets - give them sets
5. update school album title pages (since i do this every year, all i had to do is add the mini wallet photo to the title page, label it and add a 5x7 photo to the appropriate grade section of the album)
6. set aside leftover wallet photos or other sizes to mail to relatives with Christmas packages/cards.

Happy Scrappin',
:DL

Saturday, November 7, 2009

December Daily album project!

Want a simple yet creative way to remember the daily happenings, traditions and memories surrounding the holiday season? Pre-decorate an album with 25 (or more) pages, then keep it out where your whole family can access it during December to jot down journal entries, add ticket stubs, photos, and more while the event/day is still fresh in mind. Here's what mine looks like:


This inspirational idea was originated by Ali Edwards and she has step-by-step instructions and examples on her website (aliedwards.com). At a recent scrapbooking retreat, I was inspired by my friend and fellow scrapbook aficionado, Jennifer. She has completed 3 of these December Daily albums...she keeps the previous year's in a bowl on her coffee table so her family can relive holidays past as well as the new one they add to daily during the month of December.

Here is a peek inside my December Daily album:


Each page is numbered. I added a few journaling boxes to the dates I thought would be appropriate but to most of the pages I'll add journal boxes as the day unfolds.

I can't wait to show you the completed pages! The trick is to complete as much as possible ahead of time so that during the busy holidays, you can write in it as you would a journal. This is meant to be fun and creative, not a stressful "nother-thing-to-do!"


I started with trimming plain cardstock to 6.75" x 6.75" - just a random choice...feel free to make yours as big or small as you want.


i liked this size because the pages easily fit into my 3-hole-punch using the bottom 2 hole-punches:

You may want to wallpaper your pages first (adhere pretty Christmas or Hanukkah papers trimmed to size). My friend Jennifer and Ali Edwards both were way more creative than I - using chipboard, acrylic pages, envelopes, etc... I'm sure next year I will branch out a bit but with the limited supplies I had on hand, I just wanted to keep it simple and get it done.


I do like this very first page with advent paper...the open window is actually labeled "1" for December 1st, I'll use the lined paper opposite to write some reflections on our first December Daily album and maybe some hopes and dreams for this Christmas season.
I am saving the kids Christmas Wish Lists too and what better place to tuck those into than this little December Daily album! How fun, years from now, to look back on these December journals.

What about you? What are some ways you are going to remember this magical season? I would love to hear your traditions - please leave a comment.

Happy Scrappin',

:DL

Friday, October 30, 2009

Power Layouts Step Two

We ended Power Layouts Step One with our pages looking like this:


(If you stored yours in the Power Sort Box, you'll want to get them out for Step Two)

You did a great job and now you are ready for Step Two: Cropping and Embellishing!

Look at your photos....Are there photos that you can crop (too much sky? hips too big? strange relatives?)


Using a trimmer you can easily crop your photos all at the same time. Just pick up the photo that needs cropping, trim it and put it back on the guide:


Yes, you can cut your photos into cute shapes but (warning) that will slow you down. If you're wanting to finish this album in just a few evenings, you'll want to stick to the straight trimmer.

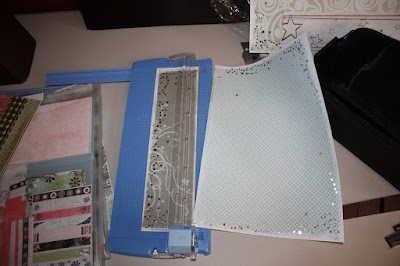
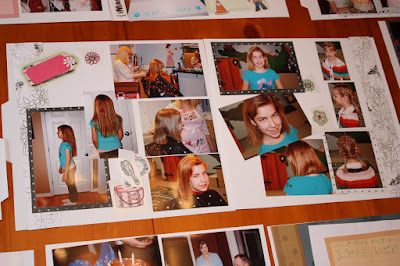
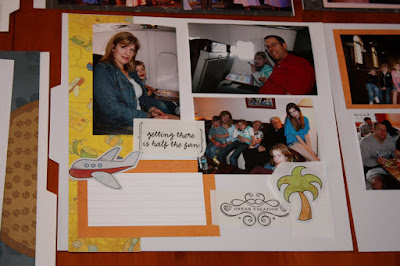
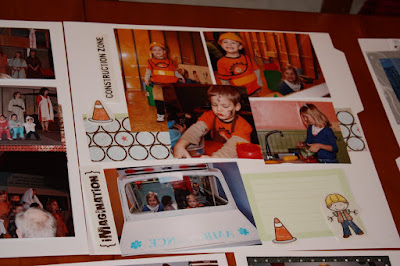
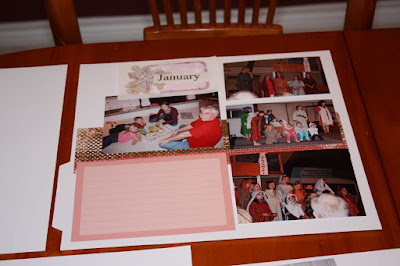
After you have finished cropping your photos, it's time to add paper, journaling boxes or stickers to enhance your photos (don't mount them yet, just trim and add them to your layout). Some scrappers put an entire sheet of 12-inch paper behind the photos, called "wall-papering", but if you want to conserve on your 12-inch paper, you can trim the paper into 3x12-inch borders instead:


I use both techniques.


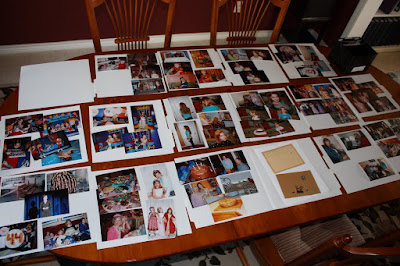
Keep doing this until all of your layouts are embellished:


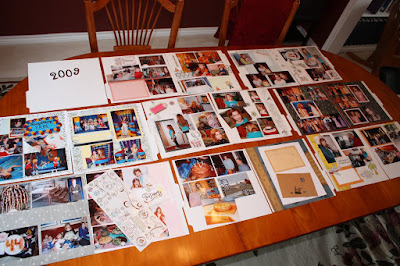
Soon your whole table of guides will be ready for Step Three (mounting into album):

The advantage to doing Power Layouts is that you are in essence creating an Assembly Line. You quickly get a birds-eye view of your album...which events will warrant a one-page or half-page spread and which warrant a two-page spread or more.


Another advantage is that you can crop all of your pictures at once, speeding up time. You have your decorative supplies on hand so you can easily access paper and stickers, and other decorative items to get as creative as you want.


If you aren't ready for Step Three, then go ahead and stack these guides up just like we did in Step One (starting with the last page on the bottom of the stack!). Secure your Power Sort Box and schedule time for your next Power Layouts session....Step Three: Mounting into Album! Feel free to post your comments, I would love to hear how Power Layouts is working for you!


Happy Scrappin',
:DL

Sunday, October 18, 2009

Organizing your Scrapbook "Stuff"

Before I can show you Power Layouts Step 2, I'll give you peek into how I organize my scrapbook "stuff" (paper and stickers):


I have this cool folder holder called a Power Palette Organizer .
(I dunno why they didn't call it a Folder Holder but I guess Power Palette Organizer is alright.)

Mine is quite full but it works for me. I sort my paper/stickers by theme and then as I need a certain theme I just pull out a folder:


Each folder has a few pockets so I have full sheets of paper, cut up pieces of paper (scraps), letter stickers, and decorative stickers all seperate from each other.

Of course, you'll want to come up with your top used themes (that you take pictures of) but here are mine:

Summer
Travel
Fall
School
Sports
Christmas
Winter
Birthdays
Spring
Baby
Boy
Girl
Animals
...then for papers/stickers that don't have a specific theme, I sort by color:

Metallics
Neutrals
Yellows
Oranges
Reds
Pinks
Purples
Blues
Greens
Some of my folders get quite full:

I have something similar for my smaller sticker sheets...which I've condensed into the same themes:

So now that you can access your 'stuff', you are ready to decorate your pages that you have laid out in Power Layouts Step One. Step Two coming soon!!! Hope this helped today!
Happy Scrappin',
:DL


Thursday, October 8, 2009

How to do Power Layouts Step One

Power Layouts is a perfect project to do on a rainy day or a stay-home-sick day or anytime you want to get an entire album completed in just a few steps. Today I'm going to show you Step One of Power Layouts. It works especially well with a single album project such as a Trip, Wedding, or in my case our 2009 family album.

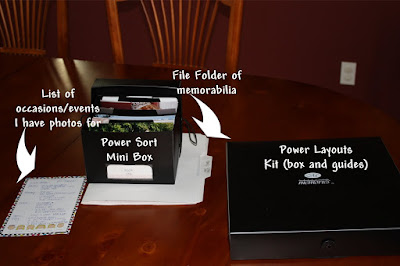
First gather your supplies:

Ok, first, clear off your dining room table! Then gather your supplies. I use Creative Memories Power Layouts Kit because it has reusable plastic guides - you could also use cardboard inserts or your actual scrapbook pages if you like, but I prefer the plastic ones.

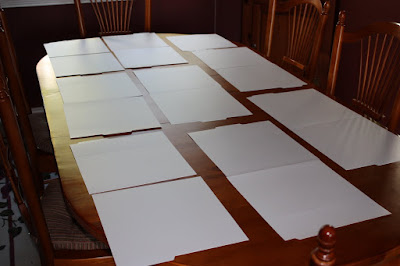
Lay the guides out on a large table or floor:


From left to right...the very first guide is all by itself because this will be my Title Page. All the other guides are set down in pairs so you can easily see a double-page spread or how it would look if you were holding the album in your lap like a book.


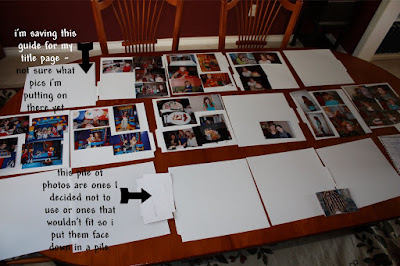
Next, you start tossing your photos onto the guides either in chronological order or by theme:


pretty soon your pages (guides) start to take shape and you can clearly see what photos you want for a one-page spread and which will take an entire two-page spread or more. Remember to add any memorabilia you want with your photos in this step:


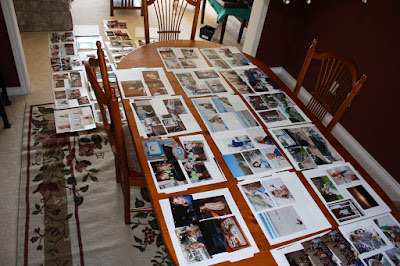
If you have a LOT of pictures like I did with doing almost all of 2009 at one shot, you may want to get more guides (the Kit only comes with 15...I use at least 45!), spread out to the floor and keep going!


and if you are really crazy-behind like me, you won't stop here....now I put new guides on top of all of these guides and keep going! But seriously, if you are out of photos, stop.


Here is my double-layer ...now I'm continuing laying out photos like a mad-woman.


but look what obsessive-compulsive disorder can do! Haha! Two layers of our entire 2009 family album layed out in just a wee bit of time. Total of 64 pages!!

But I need to stop now and take a break (my little Prince needs to eat). This is very important: starting backwards (with your very last page you laid out), start stacking the guides. Last guide will be on the bottom of your pile!!! Sooo start with the last page and continue stacking all of the guides in backwards order so you will end up with the first page on top!! Got it? Good!


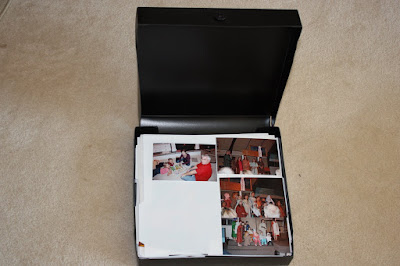
This is where you are really going to want the Power Layouts Kit because it comes with this very cool box. And the best part is:


It seals shut!
Stay tuned for Step Two in Power Layouts where we will crop our photos (if needed) and add enhancements (pretty paper, etc). all of this will be transfered into a real album on real pages, it will all make sense. It is the fastest way I know and I have completed many, many albums in just a few evenings using this system! I hope you can too!

Sunday, October 4, 2009

Welcome to a Dash of Scrapbooking!


I am sooo excited to be sharing this new Blog with you! Creative Memories has allowed to us to link our websites with our blogs now and create our own special place for me to share scrapbooking tips and ideas with you. This is where you will find photos and inspiration on how I make the time to get scrapbooking done as well as a place for you to share your ideas with me.

First for those of you who are new here is a picture of my family ... My Hero and our 3 girls and a prince:

Oops - I've gotta run...take our Jelly-in-the-middle to the movies...I'll be back soon!
Happy Scrappin,
:DL